.
How To Upload Slim Framework To Remote Site (Hostinger)
This tutorial demonstrates how to upload Slim Framework to a remote site e.g hostinger.
The steps are applicable to other remote hosting as well.
In the example, we are preparing the site for RESTFUL service.
|
1) Download pre-packaged Slim Framework
Download a pre-packaged Slim Framework here. This packaged is a modified project taken from http://www.9lessons.info/2014/12/create-restful-services-using-slim-php.html .
The package is a given a name myslimproject.
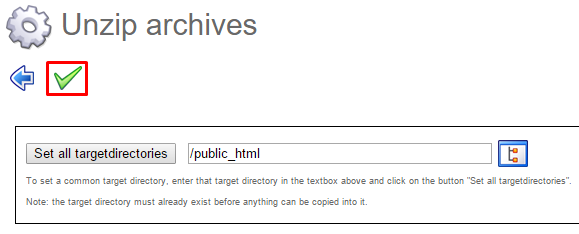
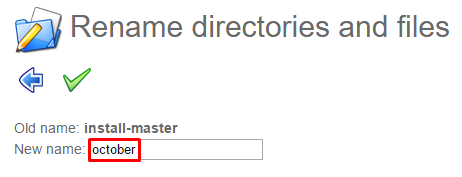
2) Upload and Unzip the package into your remote site.
Log into your hostinger site.
Go into public_html folder.
|

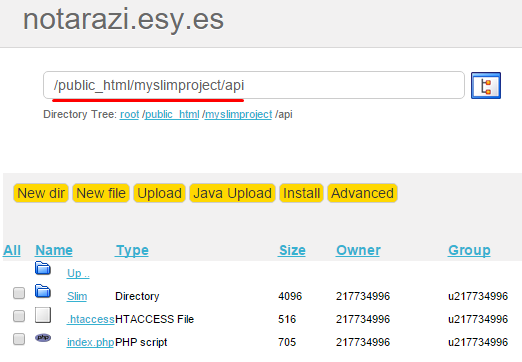
The api folder contains two files; .htaccess specifies the url rewrite directives and index.php provides program logics.
|
file: index.php
<?php
require 'Slim/Slim.php';
\Slim\Slim::registerAutoloader();
$app = new \Slim\Slim();
$app->get('/users','getUsers');
$app->get('/updates','getUserUpdates');
$app->post('/updates', 'insertUpdate');
$app->delete('/updates/delete/:update_id','deleteUpdate');
$app->get('/users/search/:query','getUserSearch');
$app->run();
function getUsers() {
echo "getUsers method";
}
function getUserUpdates() {
echo "getUserUpdates method";
}
function getUserUpdate($update_id) {
echo "getUserUpdate method";
}
function insertUpdate() {
echo "insertUpdate method";
}
function deleteUpdate($update_id) {
echo "deleteUpdate method";
}
function getUserSearch($query) {
echo "getUserSearch method";
}
?>
|
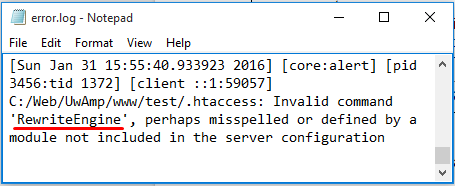
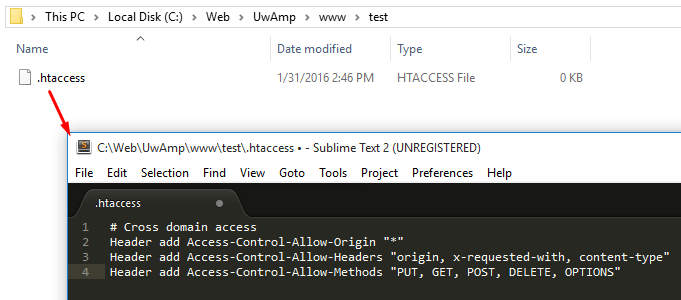
file: .htaccess
RewriteEngine On
# Some hosts may require you to use the `RewriteBase` directive.
# If you need to use the `RewriteBase` directive, it should be the
# absolute physical path to the directory that contains this htaccess file.
#
# RewriteBase /
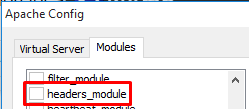
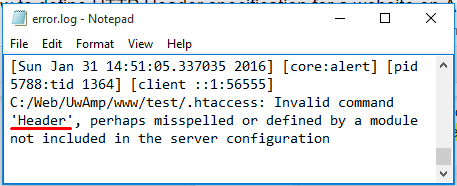
Header add Access-Control-Allow-Origin "*"
Header add Access-Control-Allow-Headers "origin, x-requested-with, content-type"
Header add Access-Control-Allow-Methods "PUT, GET, POST, DELETE, OPTIONS"
RewriteCond %{REQUEST_FILENAME} !-f
RewriteRule ^(.*)$ index.php [QSA,L]
|
3) Test


for POST etc, you may need other apps like Chrome Postman Extension in order to test.