STEPS
1) Create Article Category.
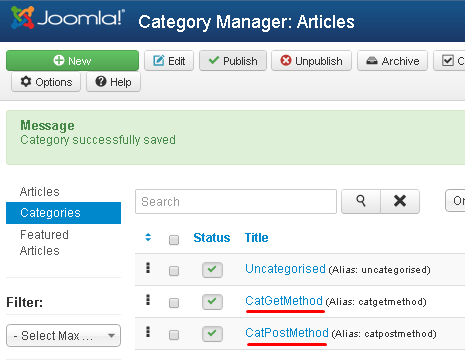
1.1) In Admin Page, go to menu Content/Category Manager/Add New Category.
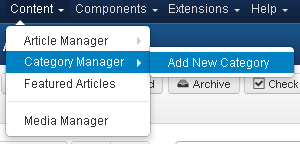
1.2) Create “CatGetMethod” category.

1.3) Repeat Step 1.1 and 1.2 to create “CatPostMethod” category.
2) Create Article.
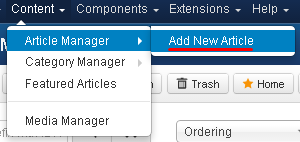
2.1) Go to menu Content/Article Manager/Add New Article.

2.2) Type PHP codes…
ArtGetSumVariables
|
<?php
//assume user input 1,2
$var1=$_GET["input1"];
$var2=$_GET["input2"];
echo $var1+$var2;
?>
|

2.3) Repeat for ArtPostSumVariables
ArtPostSumVariables
|
<form method="POST" action="" >
input1: <input type="text" name="input1"><br/>
input2: <input type="text" name="input2"><br/>
<input type="submit" name="submit">
</form>
<?php
//get value from POST input
$var1=$_POST["input1"];
$var2=$_POST["input2"];
echo $var1+$var2;
?>
|

3) Create Menu Item.
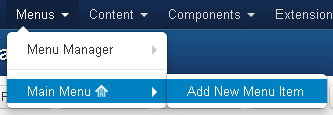
3.1) Go to menu Menus/Main Menu/Add New Menu Item.
3.2) Add Menu Item Type as “Category List”.
Choose “CatGetMethod”.

3.3) Repeat Step 3.2 to create “CatPostMethod”.

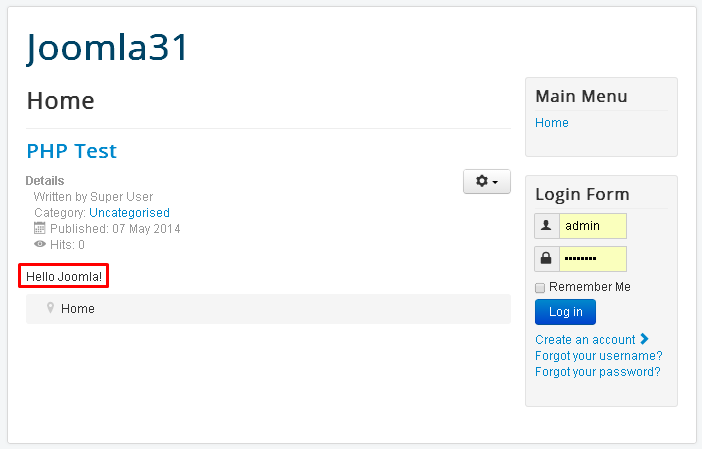
4) Browse http://localhost/joomla31

4.1) Click the CatGetMethod menu link.

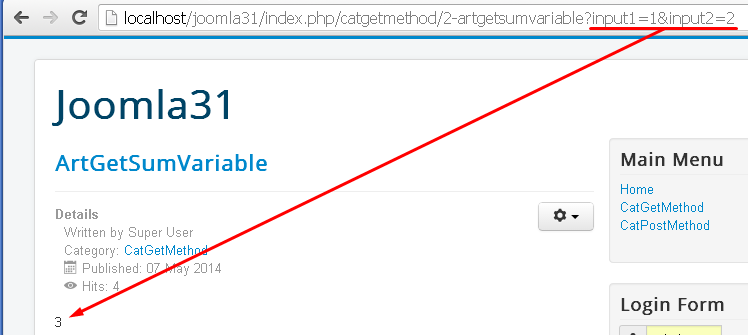
4.2) Click the Article “ArtGetSumVariable”.
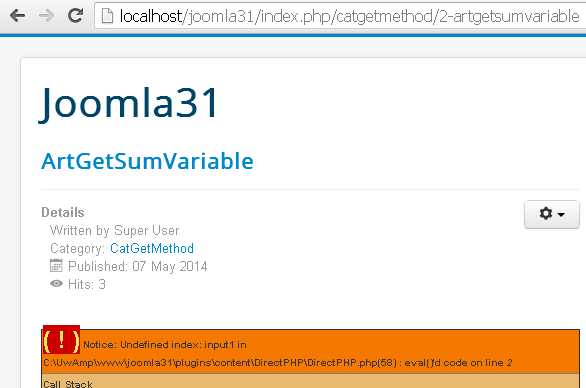
You may get notice message.
Append “?input1=1&input2=2” to the URL texts.
4.3) Try open the ArtPostMethod.
You may get Notice message.

4.4) Type the values 1 and 2 and click Submit.